Showing posts with label tutorial. Show all posts

Thursday, January 30, 2014

Document: Favorite Things

If anyone ever wanted to put the story of my life together chronologically, they'd have to pull pieces from this journal here, and that journal over there, then back to this one, then another one entirely, etc. etc.  Sometimes I keep a continuous journal, but I really like to journal by category.  At any one time, I'll have a number of different journals in progress: one for each of my kids, a gratitude journal, a scripture journal, a bullet journal (more on that in another post), a journal dedicated to hand-lettering.  You'll probably see snatches of each of them in the coming days, but today I want to show you one of the simplest, most straight-forward category journals - a "favorite things" journal.  


For this journal, I took a small, simple, wire-bound scrapbook and gave it a title and a start-date.  When I finish, I'll add the end date.


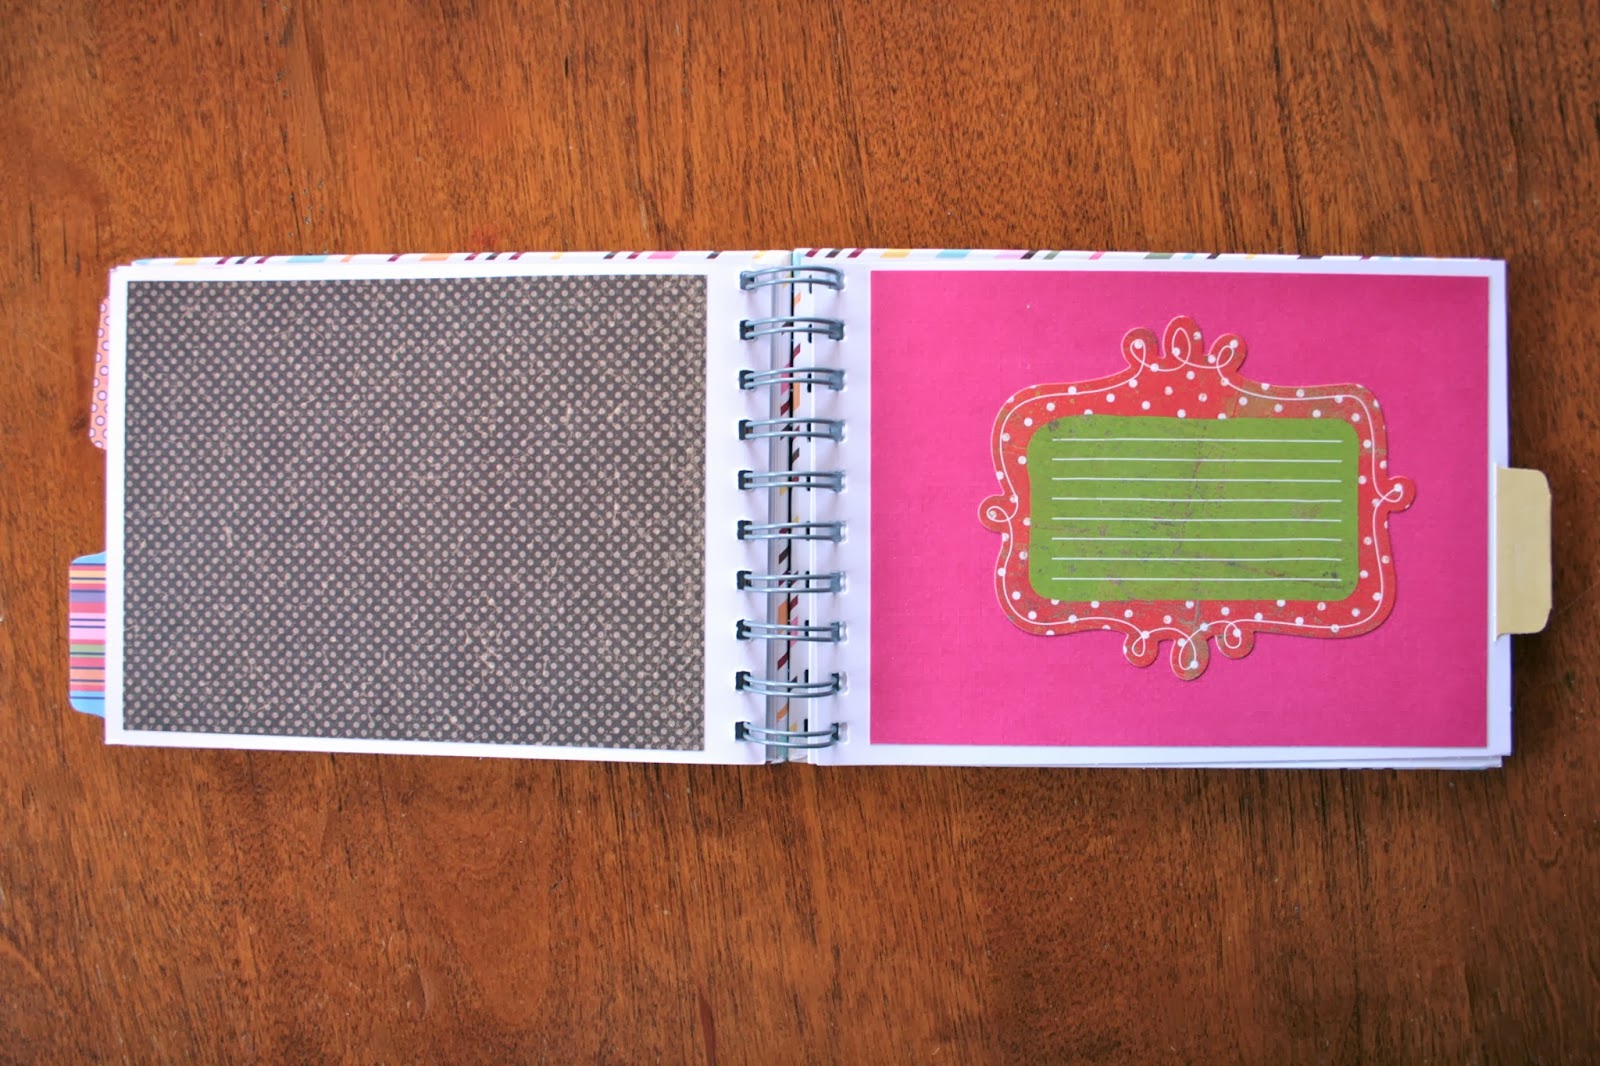
Next, I decorated the pages (they were plain white) with paper and ephemera I had on hand.


I keep it on my nightstand, so that when I feel inspired I can just pick it up and fill a page.  I don't want just a list, so each thing I write about gets a whole page.  The best part is that I don't have to think of all my favorite things at once, I just write whenever the fancy strikes.  There is no "I haven't written in my journal for a month!" anxiety.  

It's easy, simple, and meaningful: Three more of my favorite things.


Tuesday, December 10, 2013

Sketchbook Tuesday: While Shepherds Watched Their Flocks By Night (A Tutorial!)


Today's sketch is a little bit of a cheat, since I didn't make it in the last week.  But it's also a good reminder to pick up and start again!  

One of the reasons I was too busy to sketch: I was making shepherd costumes, without a pattern, from sheets!  And in case you ever need to make easy-peasy "you'll only wear it this once so it doesn't really matter if it's perfect" shepherd costumes, I took photos of some of the process for you!

You'll need old sheets, a t-shirt in roughly the size you're making the costume.


First, cut the top edge off the sheet - you can use it later for a sash/tie/whatever.


Next, fold your fabric into two layers, then lay the t-shirt on top to get a rough idea of size.  Cut the two layers bigger than the t-shirt, to allow for seams and because sheets don't stretch like t-shirts do.  You'll have two really long rectangles.  Keep them together for the next bit.


Now line up the top of the shirt with the top (short end) of your rectangles.  Stretch the neck opening of the t-shirt out both ways to get a rough idea of the neck opening you'll need for the tunic.  Use pins to mark the opening, then stitch it together like so:


Now, let's make sleeves.  Take the extra sheet material, that you cut off from the main part of the tunic, above.  Fold it into two layers, using the sleeve of the t-shirt as a guide for how wide the sleeve needs to be.  Make it wider than the t-shirt sleeve, again for seam allowance and because this fabric really doesn't stretch.


Cut the sleeve out to the width and length you want it, leaving it folded in the layers (don't cut on the fold).


Next, open the main part of the costume, and line the center of the sleeve up with the seam you made when you created the neck opening.  Stitch the sleeves to the tunic.  When you're finished, if you open up the whole thing and lay it out, it should look like this:


Okay, final step!  Fold the tunic in half, with right sides together, and the top of the tunic making the fold.  Stitch from the wrist of the sleeve, all the way to the underarm, then make a 90 degree angle and stitch all the way down the length of the tunic.  Repeat on the other side.


Now flip it right side out, and you're done!


If the neck opening is too small, just cut a small notch in the middle front of the opening, and rip the fabric until it's big enough - we're going for rustic, right?  And if the tunic is too long, just cut/rip the bottom edge to make it the right length.

Use your extra pieces of fabric to make sashes, ties, cowls, headpieces, whatever!  I ended up making costumes for 4 adults and 2 kids out of 4 big sheets from the thrift store.  Super cheap and easy.